Tuesday, March 28, 2017

Unbuilding.

Unbuilding is cathartic. Very. The old bathroom has been all ripped out - all the dodgy "improvements" (with the accompanying huge gobs of silicone filler) have gone, and the bathroom is pared back to its bare bones. I've ripped out old vinyl flooring, skirting boards and my friend Alan, helped me to stop off the water outlets and remove the ugly old vanity unit.

I've replaced rotten timbers where damp has caused damage and pulled off broken plaster to replace the lower half of the wall ready for tiling.

Can't wait to replace it with something bright, clean and functional! I'm hoping, though modest, it will have a bit of a wow factor.


Here's the ceiling showing the second coat of plaster being applied. The finish it actually getting pretty smooth........I'm happy! Big effort, but worth it.


And do you know something? bathing in the laundry trough is not so bad. For a while!


Friday, March 24, 2017

Progress......and a setback

Well, I've had a pretty good week getting stuck in with Project Bathroom, but unfortunately I was a little bit gung-ho with exuberant ceiling plastering and I exacerbated an old back injury - enforced layoff for several days while it got better. I think it is my 60+ year-old body saying, "Hey, you're not eighteen years old any more, you know!" It's nearly better now, so I'm proceeding.....carefully!

Here's what I got done before I hurt myself: 


Door and architraves removed, creating an opening between the laundry and bathroom (Love that un-building tool!)


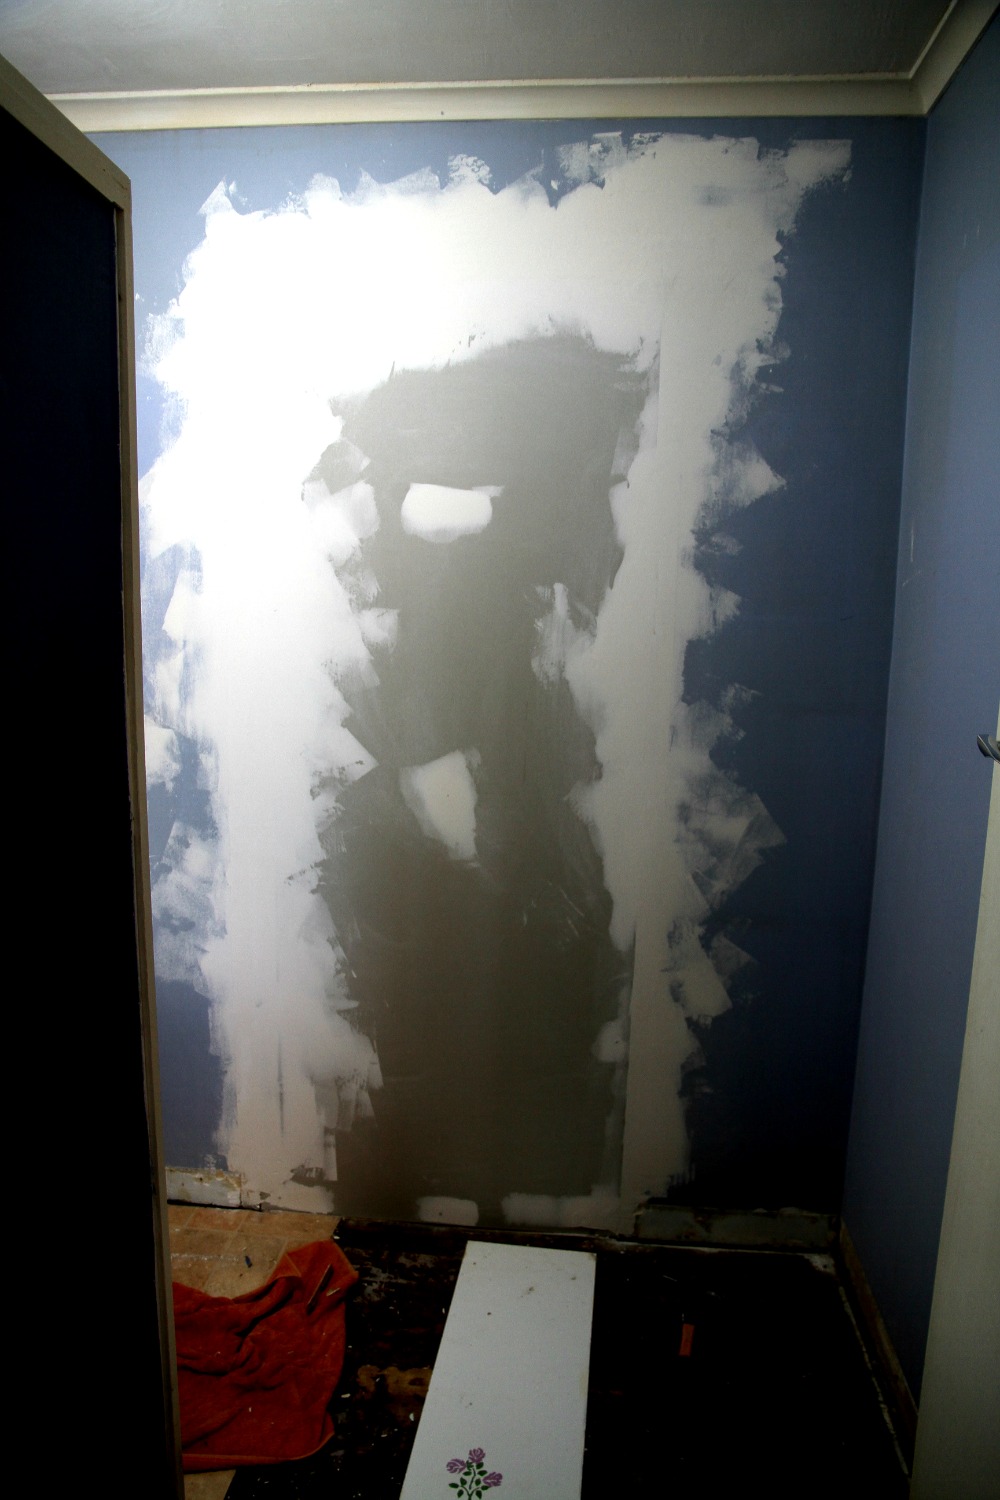
 Studs added to fill the cavity and gyprock cut to size for the opening.....glued and nailed in place. If you are wondering about all those little extra blocks - well, it's because modern stud timbers have considerably smaller dimensions than an old hardwood 4x2 from 1962! I had to improvise a bit to get flush surfaces on both sides to attach the gyprock to. It works. Solid wall.


 ..........and plastered.


The bathroom ceiling had this nasty, grotty, unevenly applied bubbly textured finish - it had to go! I wasn't sure quite how to deal with it. In the end, I decided the best thing to do was to re-plaster it. It's had one coat of plaster and it's working much better than I could have hoped. One more coat and it should be a fairly smooth finish. It won't be mirror smooth, but I'm confident that I'll get it acceptably smooth! Hopefully it won't all come down on top of me when I'm in the tub one day.

While all that was drying, I turned my attention to the laundry side (or as a friend of mine refers to it - the "butler's pantry" -not sure about that, but it is definitely more than just a laundry) This room was still in it's original dingy state with old cigarette smoke smells deeply embedded. It had a decorative wallpaper frieze around the top of the wall which I removed. Underneath was another one, which I removed. Underneath was another one.......but wait! The final one was actually a rather neat stencilled on design, and not a wallpaper frieze at all. I might keep it; I haven't decided yet. I washed the walls and ceilings down with sugar soap ready to paint when the plaster is dry and lo and behold the awful lingering smell has finally gone.


And while I am bathroom-less, this will be my bathing facility........fortunately I DO have friends with showers!


Sunday, March 19, 2017

My Dirty Little Secret

Summer draws to a close, though the weather is continuing warm and dry. I've had a few months being busy with other things, but my attention is now turning to my dirty little secret.......my bathroom.
The rest of the house is largely clean and liveable even with a few less urgent reno jobs pending.  These will slowly get done over the winter...........but the bathroom needs to be done yesterday! I've been kind of putting it off because (a) it functions; (b) it's the only one I have and no bathroom for a few weeks is a daunting, but not insurmountable problem; (c) Plumbing is an arcane art. I need help with it. All that notwithstanding, now is the time to bite the bullet (I am tired of apologizing for my bathroom)

So here's my dirty little secret - the "before" pictures:


Actually, it's not dirty - I keep it clean, but it is so dingy that it looks dirty and it is the last room that still smells of lingering cigarette smoke when I walk in. At some stage, someone thought it was a good idea to knock through a second door from the bathroom into the laundry area - totally unneeded and a waste of space in a small bathroom. My first job will be to remove this door and restore the wall. I'll be taking up the old vinyl on the floor, putting down sub-floor and tiling it. Haven't chosen colours as yet, but it will be light. Then I'll be ripping out the laminex walls around the bath and replacing with tiles. Tiles also around the base of the walls instead of skirting boards. The old glass shower screen is going and being replaced with a new one. New hand basin.........of a more appropriate smaller size. Ceiling fixed and painted. I'm leaving the basic configuration as it is: shower over bath and hand basin in the same place to avoid the expense of moving plumbing. But I'll be splashing out to get the bath professionally re-surfaced. Not inexpensive, but it will be worth the expense! I've been in touch with the company that does it locally and they said it's the last job to do after everything else is done. Freeing up wall space by removing the redundant door will give me more room to add open shelving for towels etc.......with the added bonus of space for pantry shelves on the other side. Win-win! A touch of luxury will be a hand-made substantial wooden shelf next to the new hand-basin and around the corner. And heated towel rails. I have a friend with lots of practical building experience to help me with some of this work, so I'm hoping I won't be bathroomless for too many weeks! I start today.

Here is my back garden with lovely summer alfresco corner. I love it!


Sponge baths in the laundry trough......here I come!